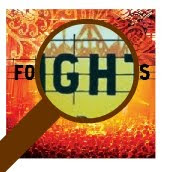
Hit Ctrl+J to bring up the Document Properties Window and set the width and the Height to 400.
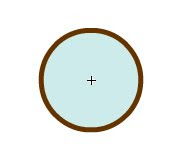
1. First we will draw the magnifying glass. HitCtrl+F8 to bring up the New Symbol window and give the name as magnifier. Click OK and draw a 100x100 cirlcle with fill color #009999 and alpha 20 and the stroke color as #663300. Set the stroke thickness as 5 pixels. Make sure you centre it.
Now with The rectangle tool selected, fill color of #663300 and no stroke color draw a rectangle. This will be your glass's handle. Now select the Free Transform Tool and rotate it through 45 degrees
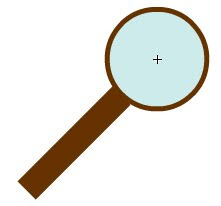
now attach both the figures and your magnifying glass is done.
2. Now we need the object to be magnified. Now remember we will not be actually magnifying anything. This will be an illusion. So we need the magnified object as well. I will using a 400x400 image of the album cover of Foo Fighter's "Skin and Bones".
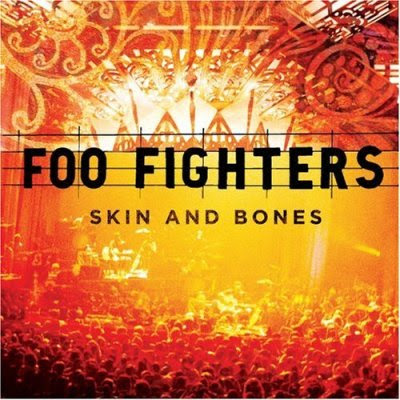
Go to File->Import->Import to Library.. and import the image into the library. HitCtrl+F8 to bring up the New Symbol window and type in the name as magnified. Drag the album cover from the library and centre it.
Create a new symbol again and this time the name is original. Drag the image from the library as before but this time go to the properties panel and set the width and height to 150. centre this too.
3 Now for the mask. HitCtrl+F8 again give the name as mask and draw a 100x100 circle of any color,it doesn't matter anyway.
4. In the main stage create 4 additional layers and rename them , from top to bottom, Actions, Magnifier, Mask, Magnified, Original respectively.

Except the Actions Layer you have to select the first frame and drag the respective object from the library and give the instance name as:-
Layer__________Object__________ Instance Name
=====________======_________ =============
Magnnifier____ magnifier ____m_mc
Mask________ mask________ mask_mc
Magnified ____ magnified ____ mag_mc
Original_____ original_______ ori_mc
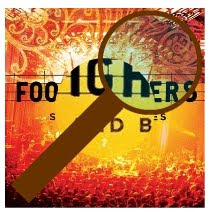
Hit Ctrl+A to select all the symbols and go to the Align Panel and centre them. Now Right-Click on the mask layer and select "Mask" from the menu.

Your Stage should now look like this
5.Now select the first frame of the Actions Layer and Hit F9 to bring up the actions Layer. Copy and paste the following code
/*add a listener*/
addEventListener(Event.ENTER_FRAME,glassMove);
/*For a proper effect the magnified image must move
so as to give a believable illusion. These variables
will hold the amount to be moved along each axis*/
var moveX,moveY;
/*hide the mouse*/
Mouse.hide();
function glassMove(e:Event) {
/*make the magnifying glass and the mask move along
with the mouse*/
glass_mc.x=m_mc.x=mouseX;
glass_mc.y=m_mc.y=mouseY;
/*calculate the amount by which the magnified image has to move*/
moveX = ( ((mag_mc.width-ori_mc.width)/2) * (glass_mc.x-ori_mc.x) )/(ori_mc.width/2);
moveY = ( ((mag_mc.height-ori_mc.height)/2) * (glass_mc.y-ori_mc.x) )/(ori_mc.height/2);
/*move the magnified image by the calculated amount
(200,200) is the centre of the stage hence the centre of mag_mc and ori_mc*/
mag_mc.x=200-moveX;
mag_mc.y=200-moveY;
/*restrict the movement so that both the magnified image
and the diminished image appear at the same time when
magnifying along the edges.If the top left corner of the
two images coincide then the centre of mag_mc will be(375,375).
If the top left corner of the two images coincide then
the centre of mag_mc will be(75,75)*/
if(mag_mc.x<75)
mag_mc.x=75;
if(mag_mc.x>325)
mag_mc.x=325;
if(mag_mc.y<75)
mag_mc.y=75;
if(mag_mc.y>325)
mag_mc.y=325;}
Hit Ctrl+Enter to test your movie!!
